Background
A birthday present I made for someone. 🥳
Ingredients
- Custom firmware containing the FastLED library, compiled using the Arduino platform: https://github.com/ufanders/flyingSeaTurtle
- Automaton model made by amaochan on Thingiverse: Flying Sea Turtle
- Base model edits, made in Autodesk Fusion 360:
- Top shell: https://a360.co/3A2HDjT
- Top shell 2D drawing: https://a360.co/3zcC0OZ
- Base with cutouts for Arduino PCB, wiring, and text: https://a360.co/3k1kIzW
- Base without the above features but converted from a mesh body and patched: https://a360.co/3A6y3fN
- Arduino PCB, converted from very complex mesh body and simplified: https://a360.co/38Vg9Rp
- WS2812B LED strip, IP-30 (non-waterproof): https://www.amazon.com/BTF-LIGHTING-Flexible-Individually-Addressable-Non-waterproof/dp/B01CDTEG1O
- Reed switch: https://www.amazon.com/gp/product/B07RS2M9TR
- Magnet: https://www.amazon.com/gp/product/B01M0XJD3O
- I used special 26AWG stranded wire to connect the shell to the base, but this would probably work: https://www.amazon.com/CBAZYTM-Stranded-Gauge-Colors-Electrical/dp/B073QJZ3PD
Assembly
Print the parts. Print the segmented turtle shell in a translucent material.
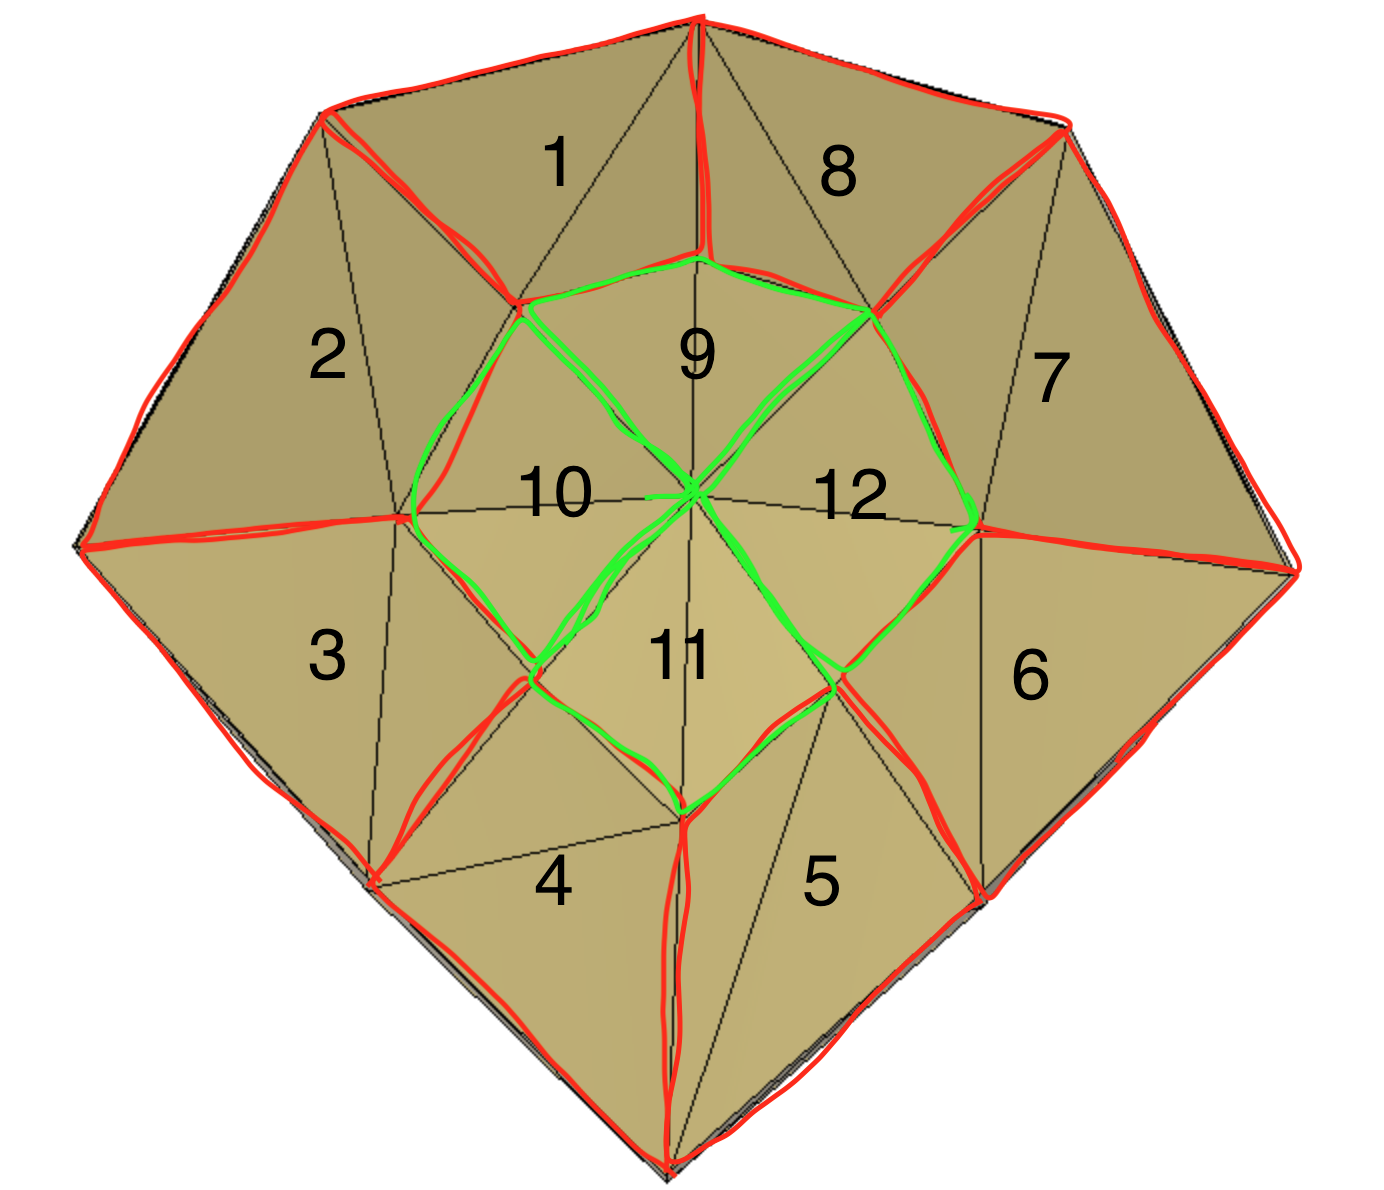
Cut the LEDs into individual 1-LED segments, remove the adhesive backing of each segment and apply the LED segments to the top surface of the turtle’s back, per the 2D compartment drawing above.
Using 30AWG wire, connect the LED segments electrically, taking care to follow DIN->DOUT. You will need to snip little holes in the vertical shell walls to let the wires go between LED segments. Hot-glue any gaps between the top shell and the turtle’s back to make the edges look nice.
The reed switch simply pulls a GPIO to ground, so wire according to the Arduino sketch. Stuff the Reed switch/wire loop into the hole coming up through the base.
Generally just follow the pictures for wiring and component placement.
One Reply to “Flying Sea Turtle”